
Adding carbon dioxide (CO₂) to a planted aquarium can dramatically improve plant growth, and while finding the right bubble rate may seem mysterious at first, it’s perfectly normal for beginners to need some guidance. Too little CO₂ and your plants may struggle; too much and your fish could be affected. This guide walks you through the science behind CO₂ injection, how to easily calculate a starting bubble rate, and offers a calculator to help remove uncertainty.
Why CO₂ Matters in a Planted Tank
Aquatic plants, like terrestrial plants, use photosynthesis to convert light and CO₂ into energy. In a low‑tech tank, CO₂ comes from fish respiration and decomposition, which often limits plant growth. Injecting supplemental CO₂ lets you:
- Boost plant growth and density.
- Reduce algae by promoting healthy plant competition.
- Achieve more vibrant colors in red plants.
- Allow higher light levels without triggering algae outbreaks.
The key is maintaining a stable CO₂ concentration, typically 20–30 parts per million (ppm) for most planted tanks. Remember, it’s manageable, levels above 30–40 ppm can stress fish, so aiming for accuracy helps you keep everyone healthy.
Next, let’s define the bubble rate to clarify the main variable in CO₂ injection.
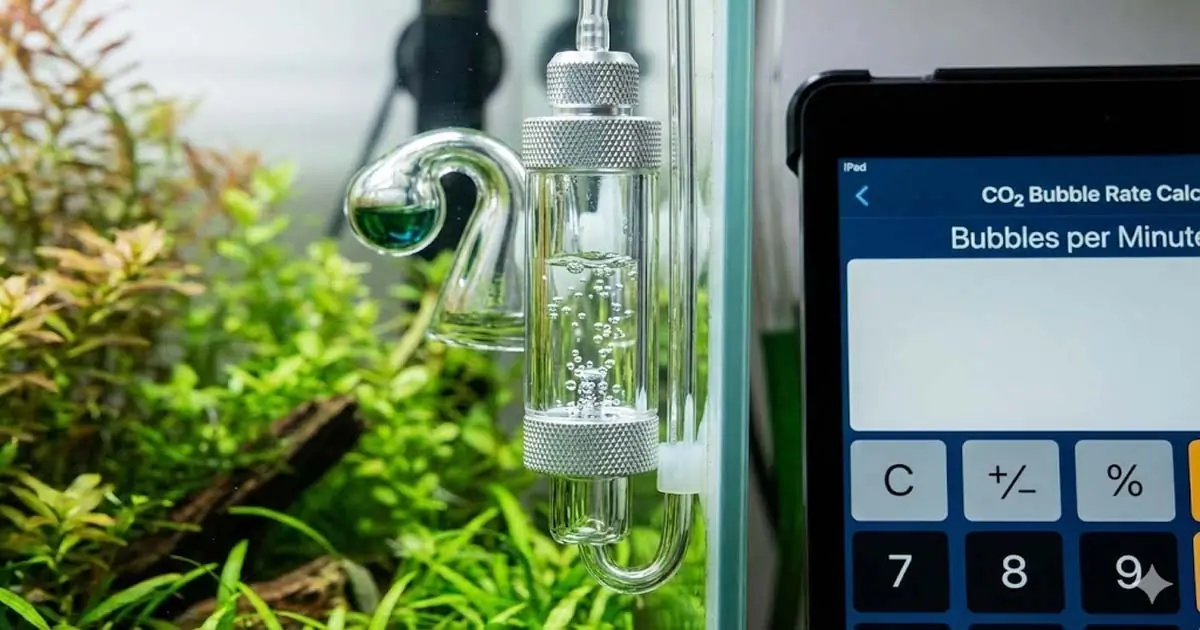
Bubble rate is the number of CO₂ bubbles passing through your bubble counter per unit of time, usually per second or per minute. It’s the main way aquarists control CO₂ injection. However, bubble rate alone does not show the actual CO₂ concentration. That depends on bubble size, tank volume, water chemistry, and gas exchange at the surface.
Why Bubble Size Matters
Not all bubbles are equal. A fine bubble from a ceramic diffuser may be 0.05 mL, while a coarse bubble from a wooden diffuser can be 0.2 mL or larger. The same bubble count delivers different amounts of CO₂. That is why a rule like “one bubble per second per 10 gallons” is only a rough starting point.
The Math Behind CO₂ Calculation
To determine a bubble rate, we need to connect the desired CO₂ concentration with the mass of CO₂ delivered.
Step 1: Desired CO₂ Mass
CO₂ concentration is measured in ppm (mg/L). For a tank of volume VV (liters) and desired concentration CC (mg/L), the total mass of CO₂ needed in the water at any moment is:CO₂ mass (mg)=C×VCO₂ mass (mg)=C×V.
For example, a 100‑liter tank aiming for 30 ppm needs 30×100=300030×100=3000 mg (3 grams) of CO₂ dissolved.
Step 2: CO₂ Mass per Bubble
CO₂ gas weighs about 1.8 g/L. To get CO₂ per bubble, multiply bubble size (mL) by 1.8 to get mg CO₂ per bubble.
Typical bubble volumes:
- Fine bubble (ceramic diffuser): ~0.05 mL → 0.09 mg CO₂
- Medium bubble (standard glass diffuser): ~0.1 mL → 0.18 mg CO₂
- Coarse bubble (wooden airstone): ~0.2 mL → 0.36 mg CO₂
Step 3: The Missing Piece – CO₂ Loss Rate
CO₂ leaves the water due to surface movement, temperature, and plant uptake. The injection rate should match this loss for a steady level.
A well‑planted tank with moderate surface movement loses about 0.5–1% of dissolved CO₂ per minute. To keep 30 ppm, you need to replace 0.15–0.3 ppm per minute, or about 4.5–9 ppm per hour. Using the mass per bubble, we can estimate a bubble rate. Simplified Rule of Thumb
Many hobbyists have found that a medium bubble rate of 1 bubble per second per 50 gallons (189 L) yields approximately 30 ppm in a typical setup. That translates to:
- Bubbles per second ≈ Tank volume (gal)×0.02Tank volume (gal)×0.02
or - Bubbles per second ≈ Tank volume (L)×0.0053Tank volume (L)×0.0053
For example, a 20‑gallon tank: 20×0.02=0.420×0.02=0.4 bubbles/sec → about 24 bubbles per minute.
This rule assumes medium bubbles (~0.1 mL). If your bubble size is different, adjust proportionally:
- For fine bubbles (0.05 mL), you need twice as many bubbles per second.
- For coarse bubbles (0.2 mL), you need half as many.
A More Accurate Formula
If you know your bubble size, a starting rate can be estimated: Bubbles/sec = (desired ppm × tank volume × loss factor) / (bubble size × 1.8).
where Loss factor is an empirical number (typically 0.001 to 0.002 per second, or 3.6 to 7.2 per hour). For a starting point, use Loss factor = 0.0015 per second.
Plugging in for a 100 L tank, desired 30 ppm, medium bubbles (0.1 mL): 30×100×0.00150.1×1.8=4.50.18=25 bubbles/sec. 0.1×1.830×100×0.0015=0.184.5=25 bubbles/sec.
If you lose 10% CO₂ per hour, use: Bubbles/sec = (3 × tank volume) / (3600 × bubble size × 1.8).
If we assume an hourly loss of 10% of the total dissolved CO₂, then the loss fraction = 0.1 per hour. For 30 ppm, that’s 3 ppm per hour lost. The mass lost per hour = 3×V3×V mg. Bubble mass per hour = bubbles/sec × 3600 × (B × 1.8).
Equate:bubbles/sec×3600×(B×1.8)=3×Vbubbles/sec×3600×(B×1.8)=3×Vbubbles/sec=3×V3600×B×1.8bubbles/sec=3600×B×1.83×V
For V = 100 L, B = 0.1 mL:bubbles/sec=3003600×0.18=300648≈0.46 bubbles/sec≈28 bubbles/minbubbles/sec= 3600×0.18300=648300≈0.46 bubbles/sec≈28 bubbles/min
This aligns with the rule of thumb (0.4‑0.5 per second for 100 L). So the simplified rule works well for medium bubbles.
Using the Calculator
Our calculator below uses the simplified rule and lets you adjust the bubble size. It provides a starting bubble rate in both bubbles per second and per minute. As you begin, remember: start low and observe your plants and fish, adjustments are expected, and everyone learns at their own pace.
- Use a drop checker with bromothymol blue to monitor CO₂ levels (green = good, yellow = too high, blue = too low).
- Adjust over several days; small changes make a big difference.
Step‑by‑Step Example
- Tank volume: 40 gallons (151 L)
- Bubble size: medium (0.1 mL)
- Desired CO₂: 30 ppm
Using the rule: bubbles/sec = 40×0.02=0.840×0.02=0.8 → about 48 bubbles per minute.
Set your bubble counter to around 48 bubbles per minute. After a few hours, check the drop checker. If it is blue, increase slightly; if yellow, decrease. Wait a day before each adjustment to let the system stabilize.
FAQ
Q: Can I use the same bubble rate for a highlight tank?
A: High light increases plant photosynthesis, so CO₂ demand may be higher. You might need 35–40 ppm. Adjust upward slowly and monitor fish behavior.
Q: What if my diffuser produces very fine bubbles?
A: The calculator lets you select “fine” bubbles (0.05 mL). The rate will double compared to the medium rate.
Q: How do I know my actual bubble volume?
A: It’s difficult to measure precisely. Use the presets as a guide. The most accurate method is still a drop checker.
Q: What about surface agitation?
A: More agitation increases CO₂ loss, requiring a higher bubble rate. If you have a strong flow or a skimmer, start with the calculator’s recommendation and expect to increase.
Q: Is it safe to run CO₂ at night?
A: Plants don’t use CO₂ in the dark, so it’s best to turn off CO₂ at night to avoid buildup. Use a solenoid valve on a timer.
Q: My tank is heavily planted – does that change the calculation?
A: Dense planting increases CO₂ uptake, so you may need a slightly higher rate. Again, use the drop checker to fine‑tune.
Why a Calculator Is Just a Starting Point
Every aquarium is unique. Water chemistry, temperature, livestock load, and equipment all affect CO₂ dynamics. Using a calculator gives you a safe initial setting, and you’ll quickly become confident by observing your tank and adjusting as needed. The goal is to provide enough CO₂ for lush plant growth without stressing your fish, and you’re more than capable of achieving this.
Use the tool below to get your starting bubble rate, then enjoy dialing in your perfect planted aquarium.
This guide is for informational purposes. Always introduce CO₂ gradually and monitor your aquarium inhabitants.