
5/5 - (1 vote)
Table of Contents
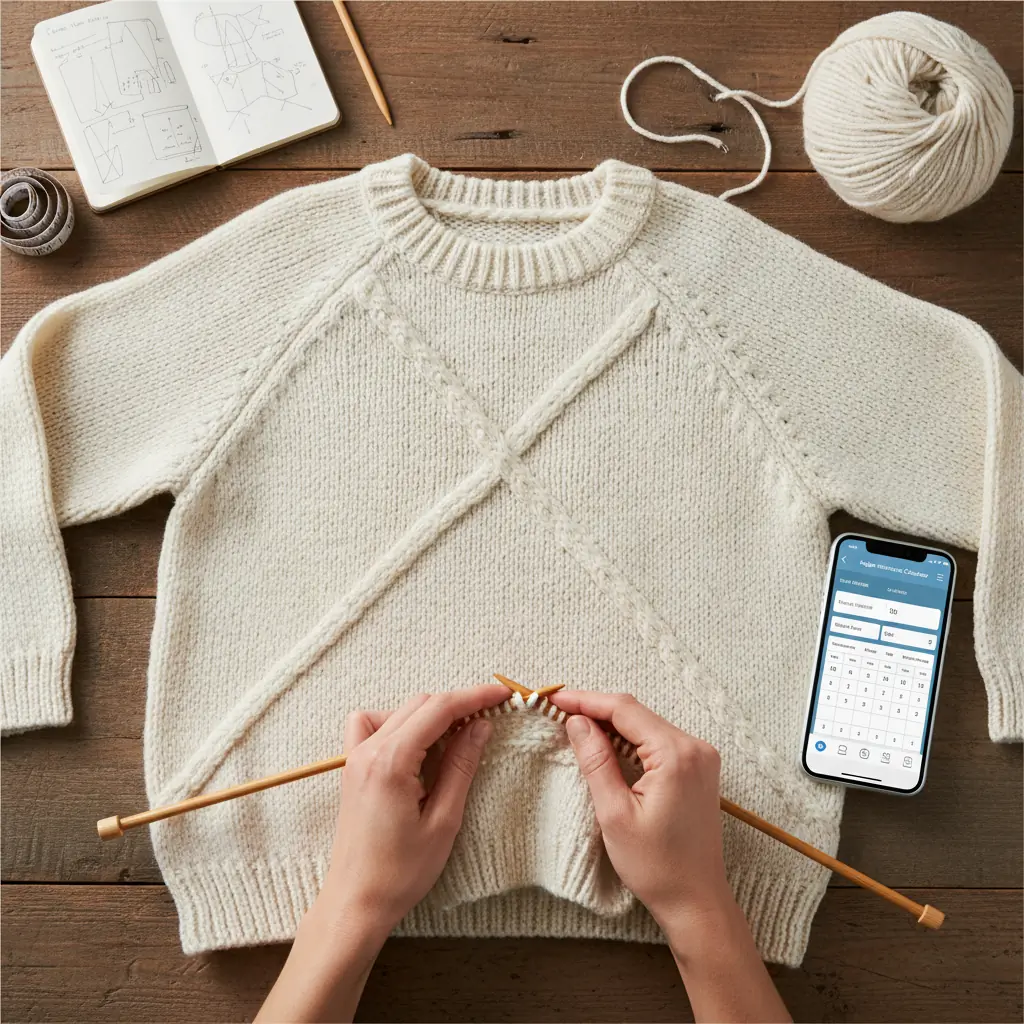
ToggleRaglan Increase Calculator
Total Body Stitches: 0
Stitches Per Sleeve: 0
Total Final Stitches: 0
Required Increases: 0
Total Increase Rounds: 0 (Adding 8 stitches per round)
Knitting a raglan sweater is a common technique among knitters because it creates a well-fitted, seamless garment. However, calculating the exact number of increases for raglan shaping can be confusing, especially for beginners. This is where a Knitting Raglan Increase Calculator becomes very valuable.
A raglan increase calculator helps knitters determine exactly how many stitches to increase, how frequently to increase, and how to distribute those increases along the raglan lines. This ensures the sweater fits well while maintaining symmetrical construction.
In this comprehensive guide, you’ll learn how to calculate raglan increases, the manual process for working them out, and how a raglan calculator can make the method much simpler.
What Is a Raglan in Knitting?
A raglan sweater is constructed with seams that run from the neckline to the underarm. These seams are called raglan lines, and they shape the garment by gradually increasing the number of stitches as you knit downward from the neckline.
Key Characteristics of Raglan Construction
- Seam lines run diagonally from the neck to the underarm.
- Four raised lines form the raglan formation.
- Commonly knitted. top-down or bottom-up
- Allows fluent customization for fit.
- Popular for effortless knitting.
Calculate increases precisely along your raglan lines to ensure proper sweater proportions and fit.
Why You Need a Raglan Increase Calculator
Take careful measurements and perform stitch calculations when increasing raglan stitches. Even experienced knitters must verify their steps to avoid mistakes.
- Figure of stitches needed for the body and sleeves.
- The frequency of increases.
- Total number of rows for shaping.
- Distribution of stitches.
A raglan increase calculator automatically determines these values based on your gauge and measurements.
Benefits of Using a Calculator
- Eliminates complex math.
- Ensures even stitch dispersion.
- Prevents sizing errors.
- Saves time when designing sweaters.
- Helps beginners understand raglan shaping.
Whether you’re designing your own sweater or modifying an existing one, the calculator simplifies the process.
How Raglan Increases Work
Raglan shaping involves increasing stitches on both sides of each of the four raglan lines.
Typical Raglan Structure
A sweater normally contains:
- 1 Front section
- 1 Back section
- 2 Sleeve sections
- 4 Raglan lines
Each raglan line adds two stitches per increase round.
Total Stitches Added Per Increase Round
Since there are four raglan lines,
4 raglan lines × 2 stitches each = 8 stitches supplementary.
This means every increase round adds eight stitches to the sweater.
These stitches are distributed between the body and sleeves to gradually shape the garment.
Essential Measurements for Raglan Calculations
Previously, before using a raglan increase calculator, you needed a few important measurements.
1. Neck Circumference
The starting stitch count is determined by the neckline size.
Example:
- Neck circumference = 18 inches.
2. Chest Circumference
Determines the final number of body stitches.
Example:
- Chest measurement = 40 inches.
3. Sleeve Circumference
Helps calculate the number of sleeve stitches required.
Example:
- Upper arm circumference = 14 inches.
4. Gauge
The gauge tells you how many stitches and rows fit within an inch.
Example:
- 5 stitches per edge.
- 7 rows per in.
The gauge is key because all calculations depend on it.
Basic Raglan Increase Formula
A raglan increase calculator essentially applies a simple formula.
Step 1: Calculate Total Body Stitches
Chest circumference × stitches per inch.
Example:
40 × 5 = 200 stitches
Step 2: Calculate Sleeve Stitches
Multiply the upper arm circumference by stitches per inch for the sleeve stitch count.
Example:
14 × 5 = 70 stitches per sleeve.
Step 3: Calculate Starting Neck Stitches
Example starting number of stitches:
90 stitches
Step 4: Determine Required Increases
Calculate the final stitches required.
Body: 200Sleeves: 70 × 2 = 140Total = 340 stitches.
Current stitches:
90 stitches
Required increases:
340 − 90 = 250 stitches
Since each increase round adds eight stitches, you divide:
250 ÷ 8 ≈ 31 increase rounds
This is the process by which calculators identify formation rows.
Top-Down Raglan Increase Method
Most modern sweaters are knitted top-down.
Steps in Top-Down Raglan Knitting
- Cast on the neckline stitches to begin.
- Place markers to clearly define raglan lines.
- Work increases rounds.
- Separate sleeve and body stitches at the specified point.
- Continue knitting the body and sleeves until each section is complete.
Example Raglan Marker Placement
Front – Raglan – Sleeve – Raglan – Back – Raglan – Sleeve – Raglan.
Use markers to repeatedly identify locations that are increasing.
Types of Raglan Increases
Different increase techniques can be used along raglan lines.
1. Make One Left (M1L)
Creates a left-leaning expansion.
Used before the raglan marker.
2. Make One Right (M1R)
Creates a right-leaning expansion.
Used after the raglan marker.
3. Knit Front Back (KFB)
An easy beginner increase approach.
4. Yarn Over Increase
Creates decorative eyelets along raglan lines.
Many knitters prefer M1L and M1R for a clean and professional look.
How a Raglan Increase Calculator Works
A raglan calculator automates the entire process.
Inputs Required
Most calculators ask for the following information.
- Neck stitches
- Bust circumference
- Sleeve circumference
- Stitch gauge
- Row gauge
- Desired ease
Outputs Generated
The calculator provides:
- Total ramp-up rounds.
- Increase frequency
- Stitch distribution
- Sleeve separation point.
- Final stitch counts.
This information helps knitters follow a clear construction as they knit.
Example Raglan Increase Calculation
Let’s see an obtuse sample.
Input Values
| Neck stitches | 96 |
| Gauge | 5 sts per inch. |
| Bust | 40 inches |
| Sleeve | 14 inches |
Results
| Front | 100 |
| Back | 100 |
| Sleeves | 70 each |
Increase Rounds
Total increases needed: 248. 248 ÷ 8 = 31 rounds.
Increase every other row until the total is reached.
Raglan Increase Distribution
Valid dispersion ensures balanced shaping.
Typical Stitch Ratio
A common ratio used by designers:
Front = 40%Back = 40%Sleeves = 20%.
Example distribution:
Front: 40%, Back: 40%, Sleeves: 10% each.
This keeps the sweater proportional.
Common Raglan Knitting Mistakes
Even with a calculator, beginners at times make errors.
1. Incorrect Gauge
Not checking the gauge leads to sizing errors.
Always knit a gauge swatch before calculating.
2. Uneven Increases
Forgetting to increase rows causes asymmetry.
3. Misplaced Raglan Markers
Markers must stay in exact positions.
4. Wrong Stitch Distribution
Body and arm stitches must follow the right ratios.
Tips for Perfect Raglan Sweaters
Use Stitch Markers
Markers plainly identify raglan lines.
Track Increase Rows
Use a row counter or a knit app.
Check Fit Frequently
Top-down sweaters let you try them on as you knit.
Adjust Sleeve Depth
Add extra increase rounds to ensure sleeves do not feel too tight.
These adjustments help achieve a just-right fit.
Advanced Raglan Design Techniques
Experienced knitters can customize raglan patterns a great deal.
Decorative Raglan Panels
Instead of using single stitches, designers can create:
- Cable raglan lines.
- Lace panels
- Textured ribs
Contoured Raglan Shaping
Some sweaters use short rows to improve the neckline fit.
Compound Raglan Increases
Designers sometimes vary the increase frequency to improve shaping.
A raglan ramp-up estimator can still work with these advanced designs.
Raglan Increase Calculator vs Manual Calculation
| Speed | Very fast | Time consuming |
| Accuracy | High | Hazard of mistakes. |
| Ease of use. | Beginner friendly | Requires math |
| Pattern design | Easy | Complex |
Because of these benefits, most modern knitters depend on calculators whenever designing sweaters.
Who Should Use a Raglan Increase Calculator?
A raglan increase calculator is useful for:
- Beginner knitters
- Sweater designers
- Pattern writers
- Knitting instructors
- Custom garment creators.
It removes a common problem, letting knitters be more creative.
Final Thoughts
A Knitting Raglan Increase Calculator is an essential tool for anyone creating raglan sweaters. Automating stitch calculations ensures exact definition, comely proportions, and a professional finish.
Understanding how raglan increases work is equally important. When you combine that knowledge with a reliable calculator, designing custom sweaters becomes much easier and more enjoyable.
Whether you’re knitting your first raglan sweater or developing advanced garment patterns, mastering raglan increase calculations will greatly improve your knitting results. In raglan sweaters, use four evenly spaced increase lines.
- Each increase round typically adds eight stitches.
- Exact measurements and calculations are key.
- A raglan increase calculator simplifies the math.
- Even stitch distribution ensures a well-fitting sweater.
With the right calculations and techniques, you can confidently knit perfectly shaped raglan garments every time.